When it comes to installing hardwood floors, much of the focus goes toward choosing species, stains, finish types, and installation patterns. But one often underestimated, and absolutely critical step is acclimation.
Without proper acclimation and moisture control, even the highest-quality materials and expert installation can lead to warping, cupping, gaps, or buckling down the line.
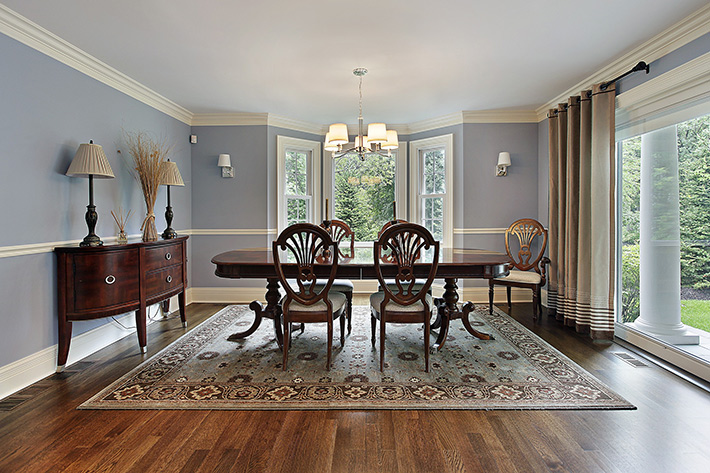
Better wood floor installations begin with proper preparation.
In this article, we’ll explore what acclimation is, why it matters, how to do it properly, and other moisture-control practices that protect your hardwood investment.
What Is Acclimation?
Acclimation is the process of allowing hardwood flooring (whether solid or engineered) to adjust to the humidity and temperature of the destination environment before installation. Wood is hygroscopic: it absorbs and releases moisture depending on its surroundings.
If flooring is installed while still holding moisture levels inconsistent with the installation site, it will inevitably shrink, expand, or deform later when conditions change.
In practical terms, acclimation means storing the flooring material in the room or building where it will be installed—typically for several days—to let it reach equilibrium with local moisture and temperature levels.
Why It’s Vital: Risks of Skipping Acclimation
Failing to acclimate properly is a common root cause of many post-installation problems:
Gaps between boards — When wood loses moisture (shrinks) after installation, planks may pull apart.
Cupping or crowning — Uneven moisture between top and bottom faces of planks can cause edges or centers to rise.
Buckling or lifting — Excess moisture absorption can cause wood to expand tightly against edges or adhesive lines, pushing boards upward.
Finish cracking or splitting — Movement stresses the finish layer, causing it to crack or delaminate.
Excessive swelling or contraction cycles — Repeated cycles wear the wood and finish faster, shortening overall lifespan.
Proper acclimation significantly reduces these risks by ensuring the wood is already in balance with the surroundings.
How to Acclimate Hardwood Floors: Best Practices
Acclimation is not a passive “set it and forget it” step—doing it right requires planning and care. Here is a recommended process:
1. Condition the Space First
Before bringing in the flooring, heating, cooling, and dehumidification systems should be running in the space for at least 48 hours. The ambient temperature and humidity of the room should reflect normal living conditions, not extremes.
2. Open the Packaging & Stack Strategically
Remove or open outer packaging to allow airflow. Stack boards with spacers or stickers (thin strips of wood) between every few rows so air circulates around all sides. Avoid laying flooring flat directly on sealed plastic.
3. Place Material in the Installation Room
Move the flooring into the room(s) where it will be installed—not stored in a basement, garage, or outside space. This ensures exposure to the same conditions that the finished floor will experience.
4. Measure Moisture Content & Compare with Subfloor
Use a moisture meter to test both the wood and the subfloor (concrete slab, plywood, etc.). Ideally, moisture content should be within 2–4 percentage points of each other, depending on local climate and wood species.
5. Allow Sufficient Time
Typical acclimation times range from 72 to 120 hours (3 to 5 days) for solid hardwood. Engineered flooring stabilizes faster, but needs at least 48 hours under proper conditions. In very dry or humid conditions, longer acclimation may be necessary.
6. Monitor Conditions Throughout
Check relative humidity and temperature during acclimation. Drastic swings during the process can defeat the purpose. Aim for consistent conditions: typically between 30–50% relative humidity and 60–80°F (or locally relevant ranges).
Beyond Acclimation: Ongoing Moisture Management
Acclimation is just the first line of defense. After installation, you must guard against future moisture issues. Consider these strategies:
● Maintain indoor humidity control — Use HVAC systems, humidifiers, or dehumidifiers to keep humidity in a stable, moderate range.
● Seal all edges and transitions — Doorways, thresholds, and walls are weak points for moisture intrusion; use proper expansion gaps and transition materials.
● Protect from water sources — Kitchens, bathrooms, entryways, and laundry rooms require extra care: area rugs, mats, or water-resistant barriers help.
● Use proper vapor barriers under slab or concrete subfloors — On-grade or below-grade slabs should have moisture mitigation (vapor barriers, proper curing, or slab sealants).
● Perform regular moisture testing — During extreme seasonal changes, recheck floor and subfloor moisture to catch potential drift early.
Choose the Right Installer for Your Hardwood Floors
Acclimation and moisture control may seem like behind-the-scenes steps, but they are foundational to a hardwood floor that lasts beautifully—without stress, noise, or repair calls. Ensure your hardwood is installed correctly with the expert hardwood flooring services of Cameron the Sandman – we cover every detail, from prep to finish.
Homes and businesses across Southeast Michigan have trusted us for flawless hardwood flooring for 80+ years.